Configuring a bicycle for maximum muscle efficiency.
Published on
18 Jul 2016
Call us on: (03) 9975 4133
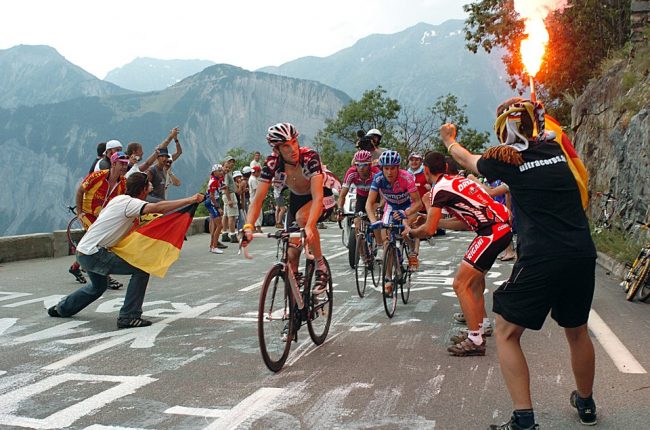
With Le Tour de France on the horizon, many of our physiotherapists and clients are getting the buzz for bicycles. Cycling is great exercise and an effective way to commute. Here’s how to make it even more effective, with tips for correct bike setup.
In 2016, Le Tour runs from Saturday the 2nd until Sunday the 24th of July. It consists of 21 stages making for a total journey of 3535 kilometres.
While most city-based cyclists may not be covering those kind of grueling distances, we still see a lot of people with cycling-related injuries coming through our doors each day.
Injury prevalence can be surprisingly high among cyclists. The predominant issues we see in clinic are either general overuse injuries or trauma caused from falling off the bike.
Although some of the thrills and spills of a bike ride can be unavoidable, an appropriate setup can provide greater stability. Plus, configuring a bicycle correctly can ease muscle strain and significantly improve your riding performance overall.
The muscular mechanics of cycling.
Cycling incorporates all of the major leg muscle groups throughout the different phases of pedaling.
At the top of your pedal-cycle (i.e. in the ‘top dead centre’), the hip extensors start to fire to generate force throughout the power phase of cycling. The activation is generally followed by recruitment of the knee extensors as you push down on the pedal. Finally, the ankle plantar flexors to reach the bottom-most point of the pedal motion (the ‘bottom dead centre’).
As the leg recovers through hip flexion back towards the top of the cycle, we start to see activity of the ankle dorsiflexors, followed closely by the knee flexors and hip flexors to reach the top dead centre again.
Configure to avoid common injuries.
Some of the more common injuries we see in clinic include:
— Patellofemoral joint pain syndrome.
— ITB compression syndrome
— Quadriceps tendinopathy.
— Patella tendinopathy.
— Vertebral disc bulges.
— Headaches.
— Carpal tunnel syndrome
— Fractures of the clavicle (collarbone) and humerus.
— AC joint disruptions.
— Rotator cuff and labral tears.
— Shoulder dislocations.
— Sprained wrists.
— Fractures of the forearm and hand.
Overuse injuries can be prevented or more effectively managed with a correct bike setup. An optimum setup can also play a significant role in minimising the risk of traumatic injury, by improving your stability on the bike.
How to set up your bike for success.
Saddle height.
The height of your saddle or ‘seat’ can greatly influence the load that is transferred through your knees while riding. The ideal height of the saddle ensures that the knees remain very slightly bent at the bottom of the pedalling motion (e.g. when the pedals are at ‘bottom dead centre’ or the knee is ‘straight’). The maximum knee bend at the top of the rotation should ensure the knee is flexed to 110-115 degrees.
Saddle position.
Make sure the saddle is neither too far forwards nor too far back. Ideally, during the power phase of the pedaling motion — as we drive down to generate the momentum that keeps the bike moving — the knee should remain vertically aligned with the pedal. A saddle that is set too far forward can cause increased loading across the knee and has been shown to decrease overall leg efficiency: that is, you will have to expend more energy to generate the same amount of force.
Saddle angle.
The saddle should be comfortable and you should feel no excess pressure around your groin. In an ideal setup, the top of the saddle is parallel to the road/bike track surface.
Handlebar position.
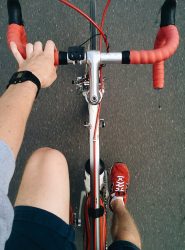
Handlebars should be positioned so you can rest comfortably forwards with a slight bend around the elbows, without feeling any discomfort or strain in your neck, back or shoulders. The handlebars should not be too far away from, or too close to, the saddle. The upper trapezius muscles (incorporating the area from the neck to the shoulder across the top of your back) should feel relaxed. Make sure you don’t grip too hard.
Professional opinion: the key to injury prevention.
While tinkering with your own individual bike adjustments and experimenting with the feel of things can achieve a more satisfactory bike setup, the best option for injury prevention is a professional bike fitting.
Specific one-hour assessments with our physiotherapists can play a key role in improving cycling performance and preventing injury. We use your own bicycle on a wind trainer and film you cycling with iPads as the basis of our assessment. Then, after analysis, we provide useful information about the specifics of your bike setup, control, and riding posture.
Thorough examination of localised joints and muscles — off the bike — can provide a more detailed picture of the specific limitations impacting upon your cycling performance or contributing to injury. This insight is then used to develop a tailored treatment plan specific to your cycling related fitness goals.
